Overnight Soaked Flour Sandwich Bread

This Soaked Flour Sandwich bread is healthier than regular bread, in that the flour soaks overnight before baking. This has numerous health benefits, even though it is time consuming. But even though it is ‘time consuming,’ you don’t have to spend a relatively long amount of time in the kitchen; and you can eat healthier. The time is worth it.

sandwich-bread-main

Sally Fallon, author of the book “Nourishing Traditions” explains some of the reasons why soaking your flour before baking is healthier:

-activates the enzyme phytase, which breaks down phytic acid (phytic acid inhibits the absorption of calcium, magnesium, iron, copper and zinc)

-provides lactic acid and lactobacilli, helping to break down complex starches and proteins

-increases vitamin content

-makes the nutrients in grains more readily available

-softens whole grain flour, making it more palatable


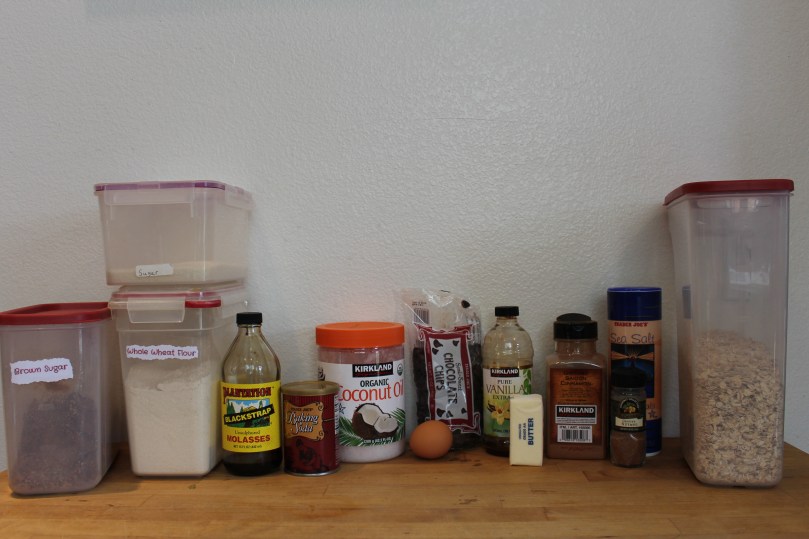
Ingredients (makes 2 loaves):

2 ¾ cup all-purpose flour

2 ¾ cup whole wheat flour

1 cup buttermilk (or make your own, see directions)

1 tablespoon apple cider vinegar

½ cup room-temp water (or more if too dry)

½ cup oil

¼ cup warm water

2 ½ teaspoons active-dry yeast

2 ½ tablespoons coconut sugar (or honey)

2 teaspoon salt


DIRECTIONS:


If you don’t have 1 cup of buttermilk, then you can make some; in a 1 cup liquid measuring dish, pour 1 tablespoon of vinegar. Then fill the rest of the cup up with milk. Let rest for a few minutes, or until curdled.

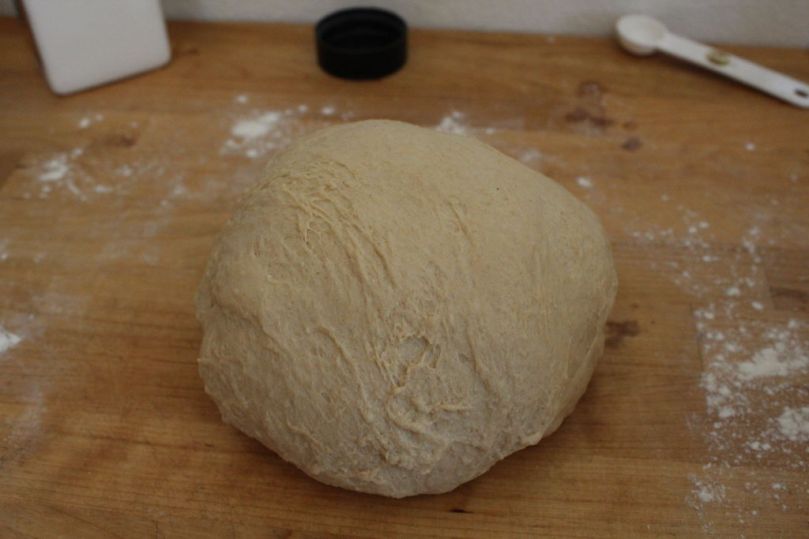
In a large bowl, or stand mixer, combine flours. Then add buttermilk, apple cider vinegar, ½ cup water, and oil. Mix and stir until thick, tough, and homogeneous. Plastic wrap the bowl, and let rest on counter overnight. (12-24 hours).

The dough, after sitting overnight, will be slightly larger, browner, and less tough.

When ready to complete bread, place the dough in a warm oven (170 degrees) to warm up, for 10 minutes.

In a small dish, combine very warm water (¼ cup) and active-dry yeast, and coconut sugar. Mix, and let rest for 5 minutes, or until yeast has bloomed.

Pour yeast mixture into soaked flour dough mixture, and mix/knead in until fully combined. Let rest for 30-45 minutes, in a warm place.

On a floured surface, turn dough out. Sprinkle over with all the salt, and knead and knead for a few minutes, until all the salt is mixed in, and dough is smooth. Separate dough into two smooth logs. Place each of these logs in two greased loaf pans.

Set pans atop the warm oven, and let rise for another half hour.

When you are about ten minutes away from being done with rise time, preheat oven to 350 degrees.

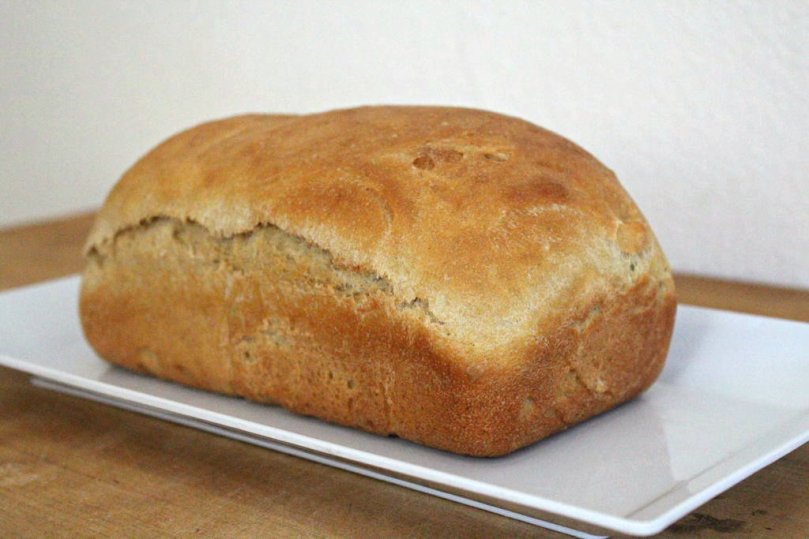
When dough is done rising, place in oven to bake for about 35 minutes, or until golden brown.

Take out of oven, and let cool a bit. Take loaves out of pans, and let them cool some more before cutting into slices and serving.

Once loaf is entirely cool, you can store it in a Ziploc plastic bag.


sandwich-bread-doughsandwich-bread-main-2

Egg Omelettes Recipe

Omelettes make the perfect healthy breakfast, as they contain protein in the form of eggs, and nutritious fillings of your choice, wrapped inside.

Omelettes are actually not as hard to make as many think. In this post, I’ll be presenting a simple recipe and method for making omelettes.

egg-omletts

Ingredients: (serves 2)

4 eggs

Sprinkle of Salt

Sprinkle of Pepper

1 tablespoon water

1 tablespoon cold cubed butter (optional)

1/4 cup diced ham (optional)

1/4 cup shredded cheese

2 tablespoons diced bell-pepper (optional)


DIRECTIONS:

First, dice your slices of ham into thin little bits.

Then shred your cheese.

And lastly, dice the (frozen, or really cold) butter.

First, dump your eggs into a medium sized bowl. Sprinkle in the salt and pepper, and pour in the tablespoon of water.

Melt butter over medium heat on a nonstick pan.

Beat your eggs thoroughly, about 10 seconds.

Add the cubed butter to the egg mixture, and whip for another 15 seconds on high.

Pour the egg butter mixture into the heated pan, and let it spread across the pan, and cook for 10 seconds.

Then push a bit of the side of the circle towards the center, and let raw mixture fill it’s place. Use a nonstick spatula for this.

Keep going around the circumference of the egg mixture in the pan, pushing towards the center, and letting the uncooked egg slid into its place. Soon you’ll have a mostly cooked circle of egg.

Sprinkle the ham, shredded cheese, and optional bell pepper over one half of the egg circle.

Carefully fold the unfilled layer over your fillings, as shown.

Grasp the handle of the skillet, and flip the omelette out onto a plate to serve.

Serve fresh and warm.

For step by step pictures, see my original recipe post on instructables.

omelettes-filling
Sprinkle on the filling.

Healthy Oatmeal Chocolate Chip Cookies

These cookies are healthy for being cookies, and make a great snack anytime of the day. They are quick and easy to make.

oatmeal-choc-chip-cookies-main

oatmeal choc chip cookies ingredients.jpg
INGREDIENTS

INGREDIENTS:

½ cup butter, softened

1/4 cup Coconut Oil, softened

1/2 cup Sugar

1/2 cup brown sugar

1 t. molasses

2 t. Vanilla

1 egg

1 cup flour

1 t. baking soda

1/2 t. salt

1 t. cinnamon

1/8 t. nutmeg

3 1/2 cups quick oats

1 cup chocolate chips


DIRECTIONS:

Preheat oven to 350 degrees.

In a stand mixer, beat first 5 ingredients until creamy and smooth.

Then add egg, and mix until well combined.

In a medium bowl, sift together the flour, baking soda, salt, cinnamon, and nutmeg.

Add the flour mixture to the butter mixture, and stir until well combined.

Add the oats. Stir until combined.

Add and stir in chocolate chips.

Place shaped cookies on ungreased baking sheets, approximately 1 inch of space in between cookie balls.

Bake for 11-12 minutes, or until golden. Cool on wire rack before serving.


spooning-out-oatmeal-choc-cookies
Spoon out cookies…
oatmeal-choc-cookies-laid-out
…onto an ungreased baking sheet


Healthier Chewy Chocolate Chip Cookies

If you enjoy chocolate chip cookies, but feel guilty every time you eat one–this might be the recipe to lighten your heart and decrease your pure sugar and white gluten intake a bit.


chewy-chocolate-chip-cookies-main

Half the flour you’ll be using is “White Whole Wheat Flour”, a great substitute in baking for those not minding a slightly denser crumb, but not willing to go completely off gluten; let’s be honest–a completely gluten free dessert doesn’t taste quite as good.

Also, there is a bit of coconut flour for those who have it.

Of course, the rest of the flour will be all-purpose flour.

When it comes to sugar, instead of using brown cane sugar, you’ll be choosing from either coconut sugar, or turbinado sugar–or a mixture of both. A smaller amount will be white cane sugar, though.

See recipe below:

ingredients
INGREDIENTS


INGREDIENTS:


1 cup all-purpose flour

1 cup white whole wheat flour

½ teaspoon baking soda

½ teaspoon salt

¾ cup butter, melted

2 tablespoons canola oil

¾ cup of coconut sugar, or turbinado sugar, or a mixture of both

⅓ cup white sugar

3 teaspoons vanilla extract

1 egg

1 egg yolk

1 ½ cups chocolate chips

DIRECTIONS:

Preheat oven to 325 degrees.

In a medium bowl, mix together flours, baking soda, and salt.

In a stand mixer, beat together sugars and melted butter until incorporated.

Put in the vanilla extract, egg, and egg yolk, and beat on high speed until light and fluffy, about 1 minute.

On low speed, gradually mix in the flour mixture, and then the chocolate chips, until everything is incorporated.

Place by tablespoons onto an ungreased baking sheet, and bake in preheated oven for 15 or more minutes, until edges are a bit browned.

Remove from oven and allow to cool for about 5-10 minutes before consuming.

Store in Ziploc plastic bags when not consuming.