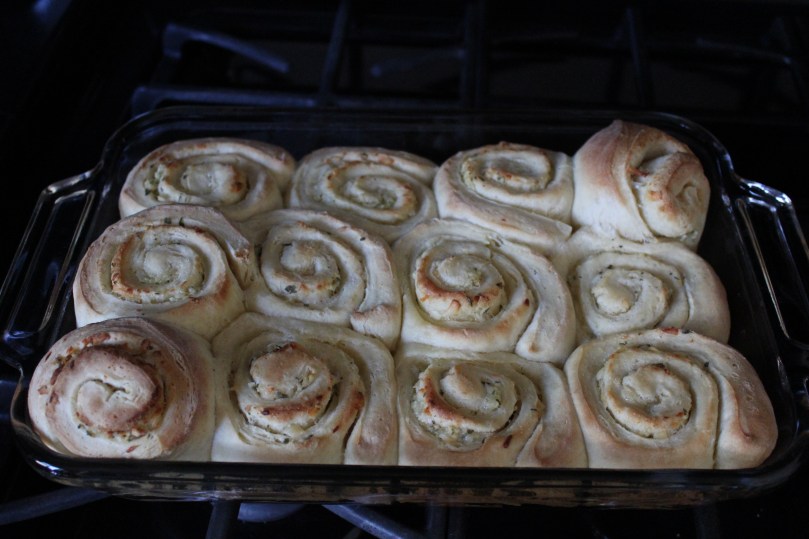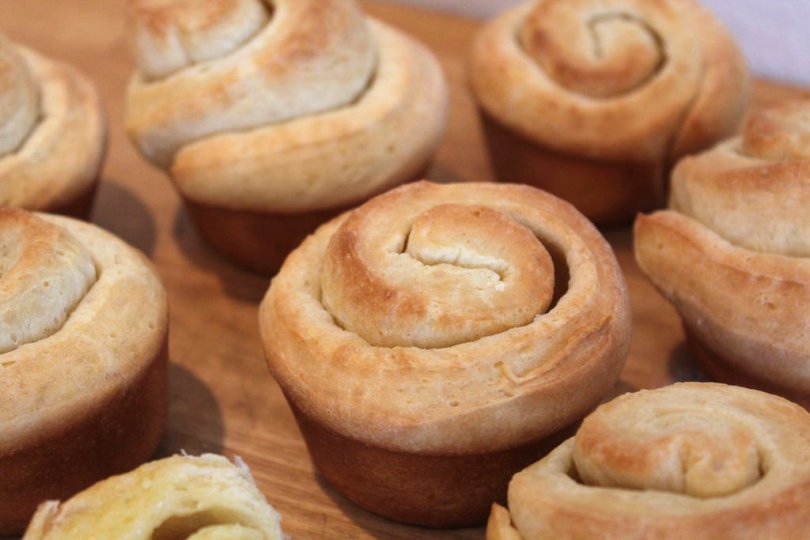
This dinner rolls are a perfect side to any meal. The dough is rolled around softened butter much like cinnamon rolls, and then baked in muffin tins.

Ingredients: (makes 12 rolls)
INGREDIENTS:
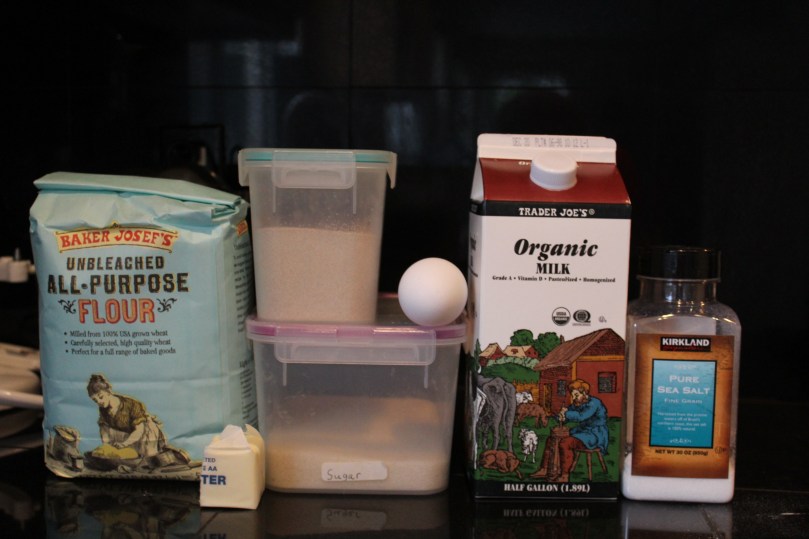
¾ cup milk
¼ cup butter
3 teaspoons active dry yeast
2 1/4 cups flour
2 tablespoons sugar
½ teaspoon salt
1 egg yolk
¼ cup water
Filling:
⅓ cup butter, softened
DIRECTIONS:
Heat butter with milk in a microwave until butter is melted, stirring in between.
In a large bowl of a stand mixer, combine 2 cups flour, yeast, sugar, and salt.
Pour water, egg yolk, and milk-butter mixture into the flour mixture. Make sure that the milk mixture is very warm. Stir into flour mix until sticky and wet.
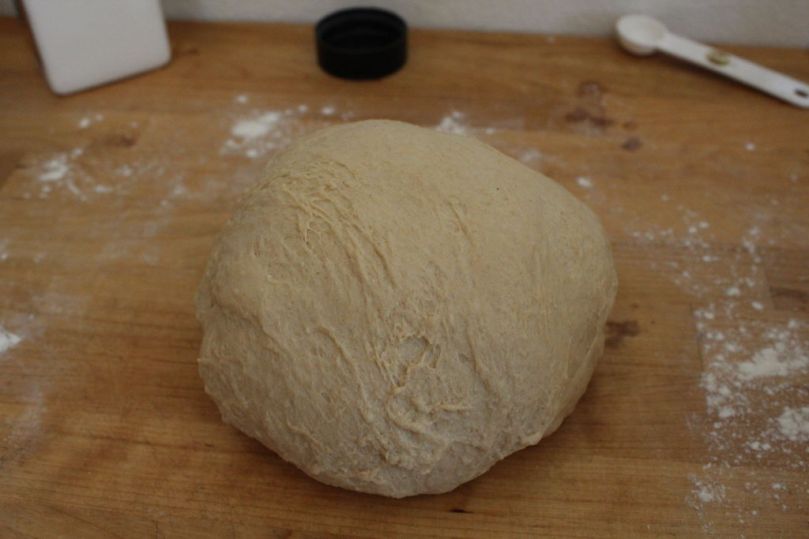
Replace mixer with a dough hook. Add the remaining 1/4 cup of flour carefully, kneading with dough hook constantly until the dough is wet but doesn’t stick to your hand. It should take all the flour. If it is still sticky, add more flour. Once dough is done, take the dough out of the bowl and hand knead it. Then grease the large bowl, and put the dough back in. Let rise in a warm place for 10 minutes.
Roll dough out on a large flour surface into a 12×9 inch rectangle.
Spread softened butter over rolled out dough evenly.
Roll dough up, starting at the 12 inch side, until it is a long log. This is very similar to cinnamon rolls. Cut out 12 even rolls from this long log. Place each roll in a greased muffin tin.
Cover and let rest for 30 minutes. After ten minutes of rising, preheat oven to 375 degrees; then continue with the other 20 minutes rising.
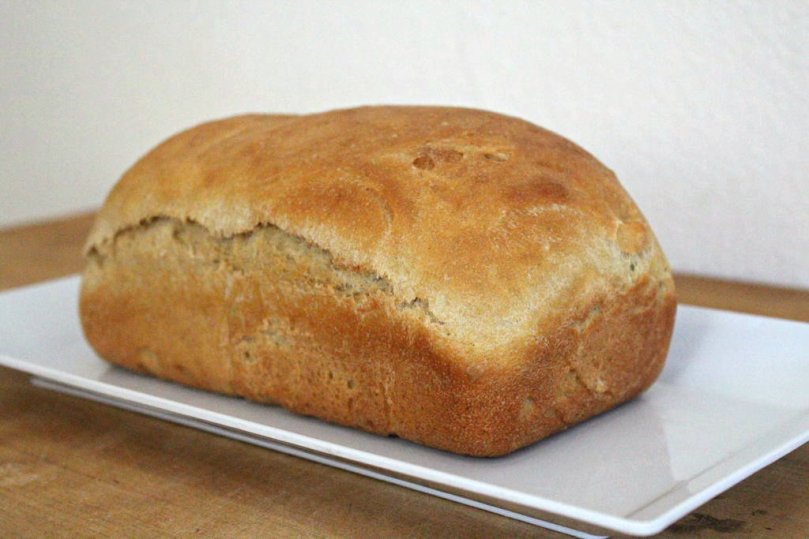
After rise time is up, bake the rolls in the pan in the oven for 20 minutes, or until golden. Serve warm.
See my original post of this recipe on instructables.